Custom Page
Siberian gives you a wide choice of features to put your products and activity forward.
The custom page allows you to enlighten your business in numerous ways. You can write an article with a picture or not, you can publish a photo gallery, you can publish a video directly on this page, and you can add “one-touch call” buttons or link to any external website.
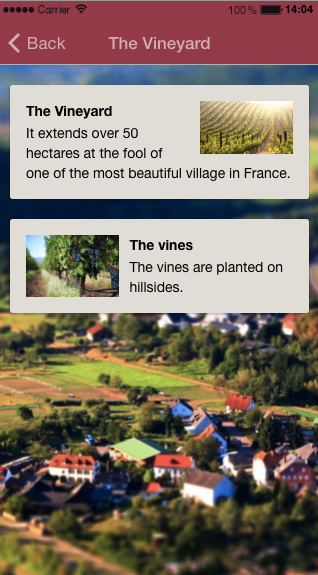
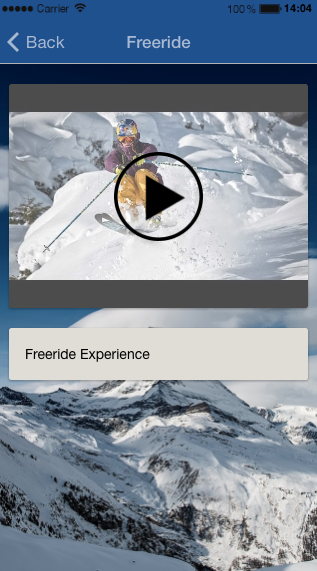
For instance, the custom page gives you the opportunity to create pages like these ones:
Let’s see, how to create a page such as these ones. First, you need to create a new Custom page:
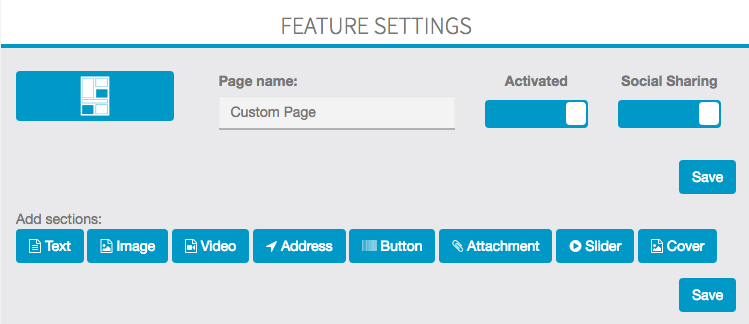
Then you must name your new page (here it will be Our Activities).
A custom page is made up of independent blocks. Thus you can realize as many blocks as you want in the same page (in the example page “Our Activities” there are three blocks: one about golf, one about tennis – which is both text sections – and one about the lake which is an image section).
Here, we will create the first section, which is dealing with golf. To do this, click on “Text![]() ” . A new text document appears and you can write your article in it.
” . A new text document appears and you can write your article in it.
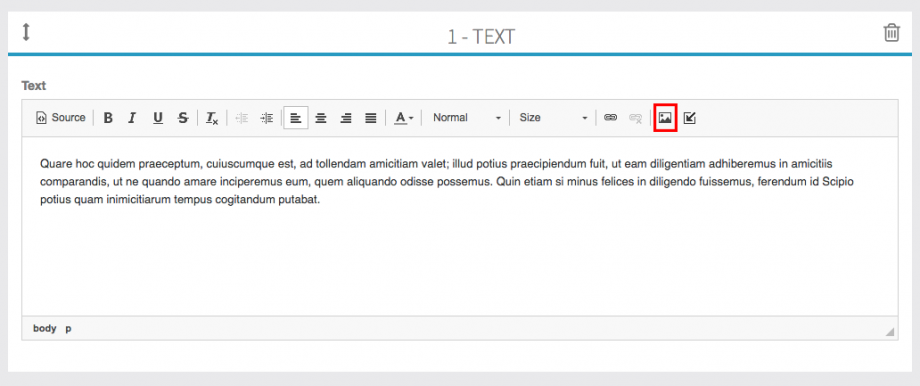
Then, insert the picture we want in this section. To do that, click on the icon which is circled in red. This icon appears ![]() and allows you to insert your picture.
and allows you to insert your picture.
When this one has been inserted, you can act on its alignment and its size:
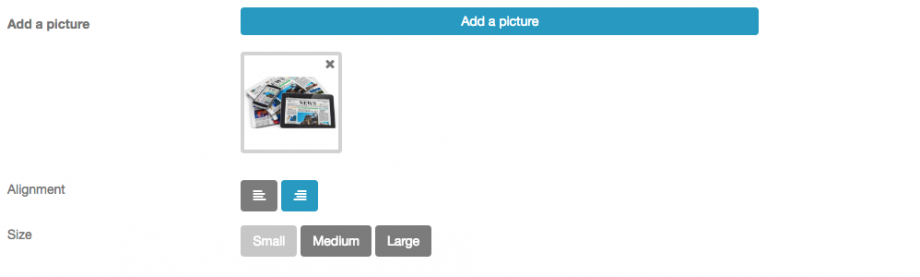
Thus you obtain this result:

To obtain a section like “The vines”, click again on ![]() and follow the process we have seen. But you must act on the alignment which must be on the left and not on the right. You can realize as many sections as you want (custom pages are made up of independent blocks).
and follow the process we have seen. But you must act on the alignment which must be on the left and not on the right. You can realize as many sections as you want (custom pages are made up of independent blocks).
More:
You can also add in your text element a link to a website or an e-mail address.
This appears:
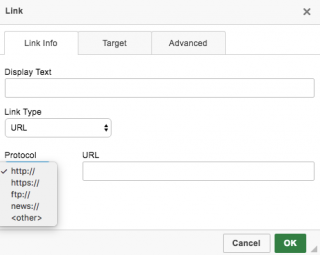
You have to choose the link type you want to integrate, “URL” if you want to integrate a website or “E-mail” if you want to integrate an e-mail address. Then write in the URL case the link.
ex:
Website:

Source Mode, HTML Tags :
You can also insert HTML TAGS by selecting the “source mode” with the “source button”.
The HTML tags allowed are an img and iframe. Every other HTML tags will be automatically removed.
Creating a photo gallery is as easy as realizing a text section. To do that, click on ![]() and then on “Add pictures”.
and then on “Add pictures”.
You obtain this:

You can add a description of your picture if you want. Here again, you can realize as many sections as you want, you just have to click on ![]() .
.
The creation of a video section is as easy as the creation of text sections and picture sections. To do that, you must create a new section, click on ![]() . This appears:
. This appears:
YouTube:
Click on  . This appears:

Enter your research or your YouTube URL in the field. Here I enter “Freeride in Sweden” and then click on OK. This appears:
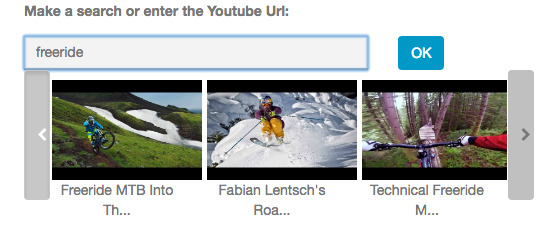
Select the video you want to integrate and then click on “Save” to save your video.
Podcast:
Click on  . This appears:

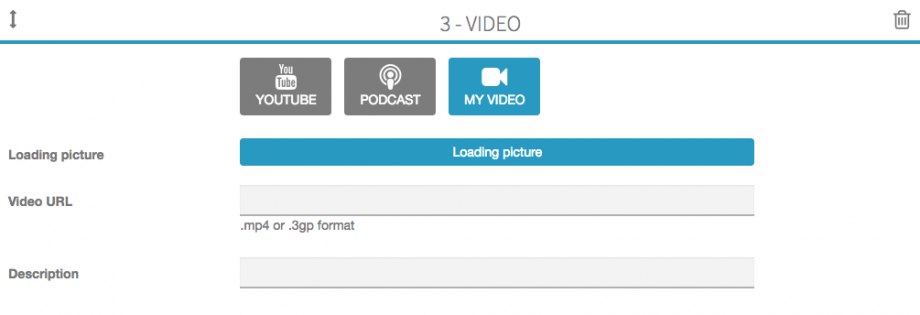
My Video:
Click on  . This appears:
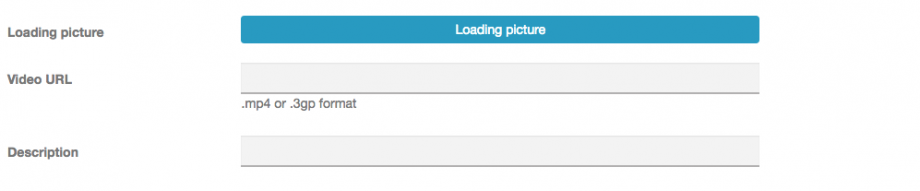
Thus, to include a video, you have to write the URL address of your video in “Video URL”.
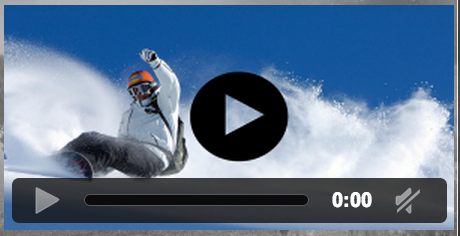
Once you have written the URL address of your video, you can write a little description of it and add a loading picture. To add a loading picture, click on ![]() . You obtain this:
. You obtain this:
Thanks to this section you can add a button to locate any place from the user device.