Basic settings
Without filling the main settings, other menu items will not be available. These settings apply
immediately to all elements.
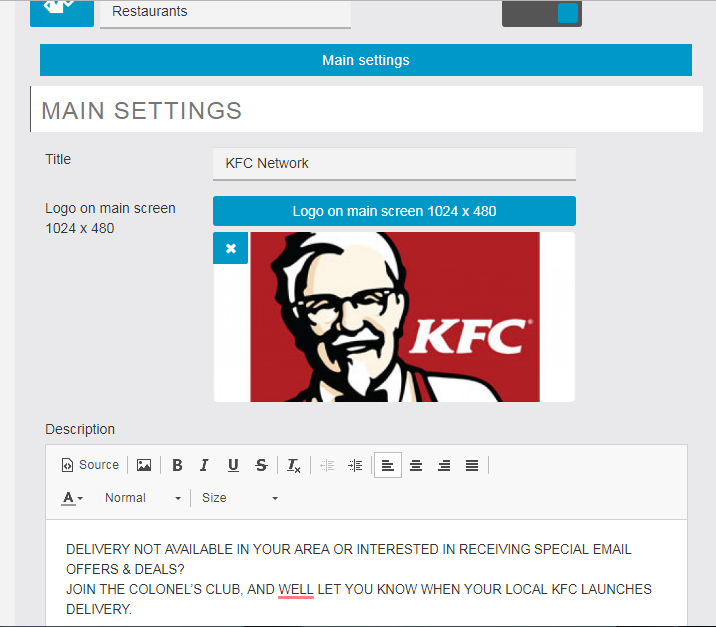
Options:
1. Title – Application Name
2. Logo on main screen 1024 x 480 – main application logo
3. Description – description displayed on the main screen
4. VAT – VAT rate (20% usually)
5. VAT included in the price – In some countries, the price of goods is indicated with VAT included. If
this option is enabled, it is assumed that the specified prices for dishes already include VAT, and
in the order, VAT is indicated, but not taken into account. If this option is disabled, the VAT on
the cost of goods and delivery will be calculated separately and added to the total amount.
6. Show cuisine choice on the main screen – show the choice of the type of cuisine (Asian, pizza, rolls,
burgers, Mexican, etc.), this is used if the application has several restaurants of different
cuisines. After the choice of cuisine, the client will be shown restaurants that have dishes of the
selected cuisine.
7. I have only one restaurant! – if you have one restaurant, then enable this option. In this case,
the menu of the first restaurant in the system will immediately open.
After the initial setup, the remaining menu items will become available.
The name, description, and logo are displayed on the main page of the application.
Step-by-step application setup
We recommend setting it in the exact order it is described in this manual.
#1 Types of cuisine.
In one application can be restaurants that have different types of cuisine (Sushi, Mexican, Pizza, Burgers,etc.)
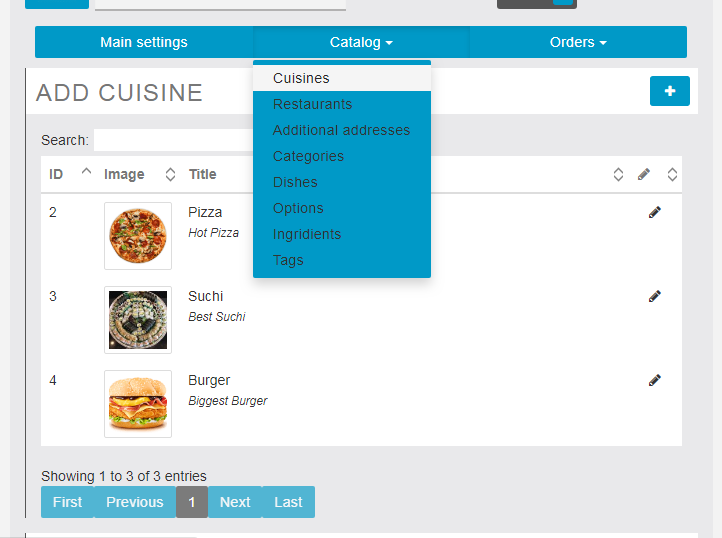
On the main screen (if it is enabled in the settings) a list of cuisine types will be shown, after which only
those restaurants that have dishes of this cuisine in the menu will be shown.
If the restaurant does not use kitchen types, the display of this list can be turned off in the basic settings,
but at the same time, at least one type must be created, for example, “All cuisines”.
#2 Ingredients.
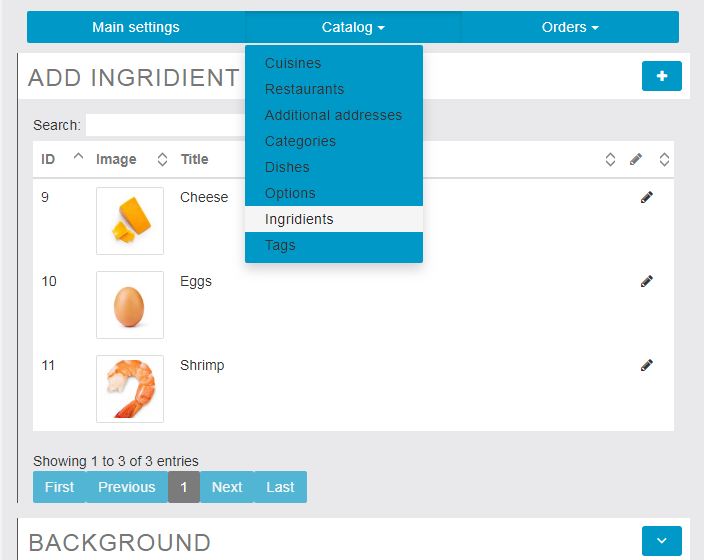
Ingredients are used in the filter of dishes, as they are shown in the list of dishes and in the dish card.
In the list of dishes:
We recommend to fill the main key ingredients – shrimp, pepperoni, beef, and so on – the client can
select only those dishes that have or do not have certain ingredients. If possible, supply the
ingredients with explanatory pictures, this will positively affect the appearance of the catalog and
filter.
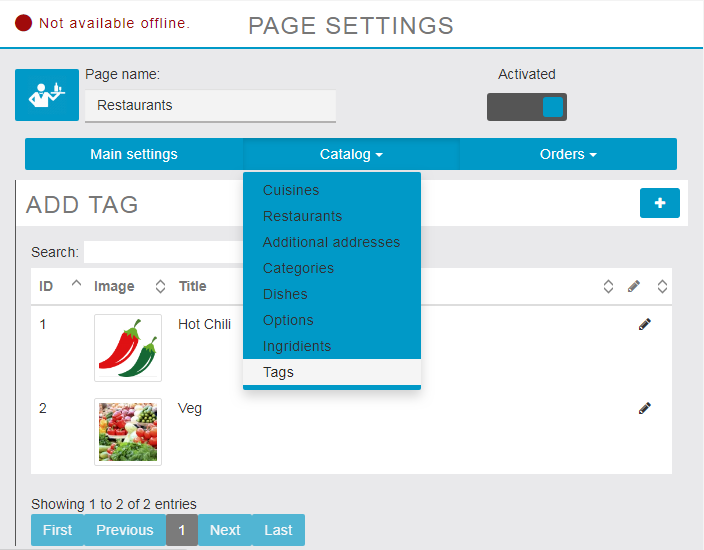
#3 Tags
Tags are used in the same way as the ingredients, but serve to explain the types of dishes, for example –
meat, fish, spicy, vegetarian. We recommend that you always fill in the tags and provide them with explanatory pictures, this will positively affect the appearance of the catalog and filter.
#4 Categories
The main categories of dishes are opened in the application on the main screen of the selected
restaurant. If the selected category has subcategories, then selecting this category will open a modal
window with a suggestion to open this category or select subcategories from the offered list.
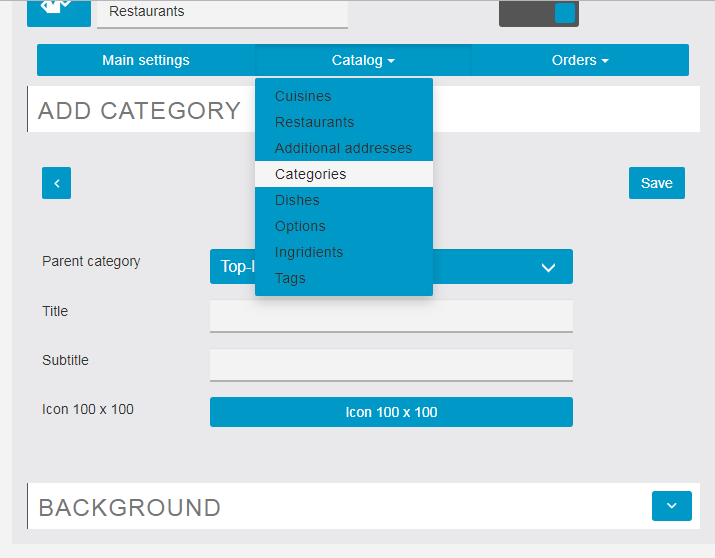
Each category has parameters:
1. Parent Category – parent category. Choose a parent category or leave it to the parent category
(TOP LEVEL CATEGORY)
2. Title – category name
3. Subtitle – category subtitle
4. Icon – image (we strongly recommend to fill it, it has a positive effect on the appearance of the
application and increases the attractiveness)
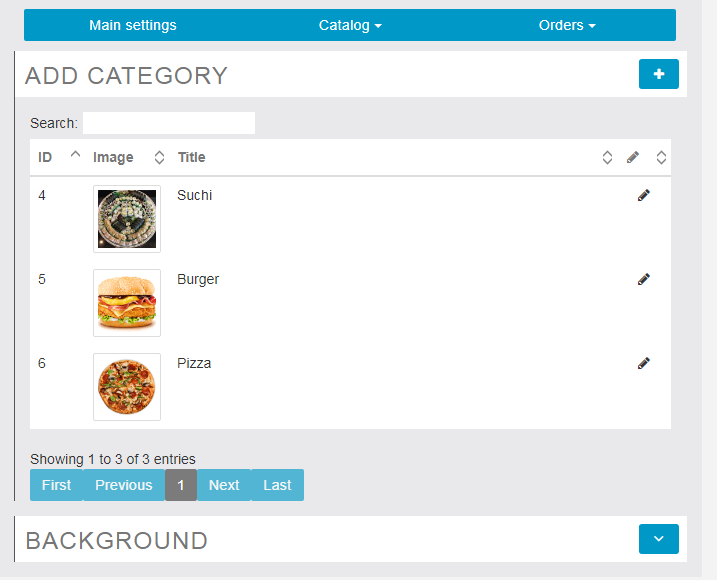
A dish may belong to several categories, both parent and child. After forming the list of dishes for each
restaurant, based on the belonging of these dishes to different categories, a list of categories will be
compiled, which will be shown on the main screen of the restaurant.
#5 Dish options
We have abandoned the use of the Drop Down List option, which is successfully replaced by the Select
option. In total, there are two types of options – Select (where only one choice from the proposed set is
selected) and Checkbox (where several items can be checked).
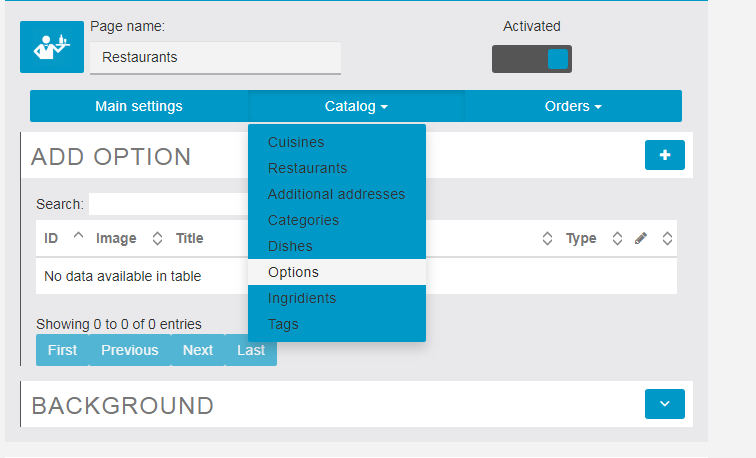
We recommend using pictures for options – with them, the application looks more attractive to the user.
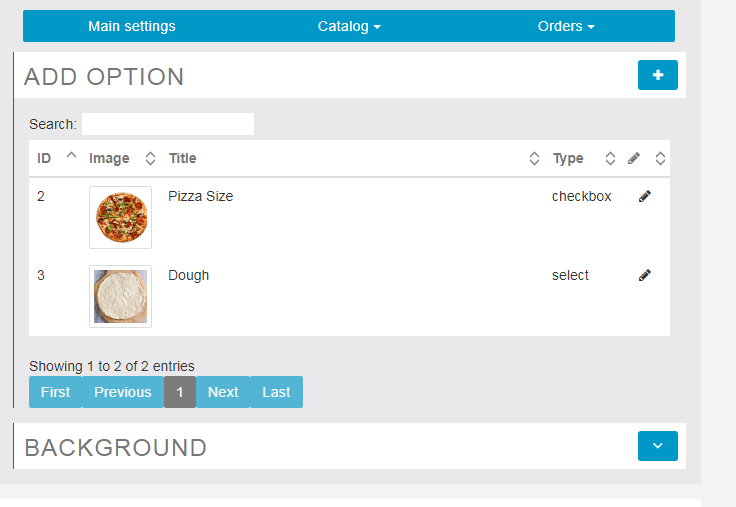
Options are, as already mentioned, of two types – choice and checkbox, i.e. with a single choice or with
multiple. This is set to “OptionType”.
If for the option to enable “Is required” – the option will be obligatory for filling, without its filling the
goods will not be added to the basket.
Each option may have a quantity – in this case, opposite to each value there will be fields for indicating
the quantity. The “Use quantity” parameter is responsible for this.
Note that the price for options is set in the restaurant settings – this is due to the fact that the prices for
the menu is set directly in the restaurant settings and may be completely different for the same dish.
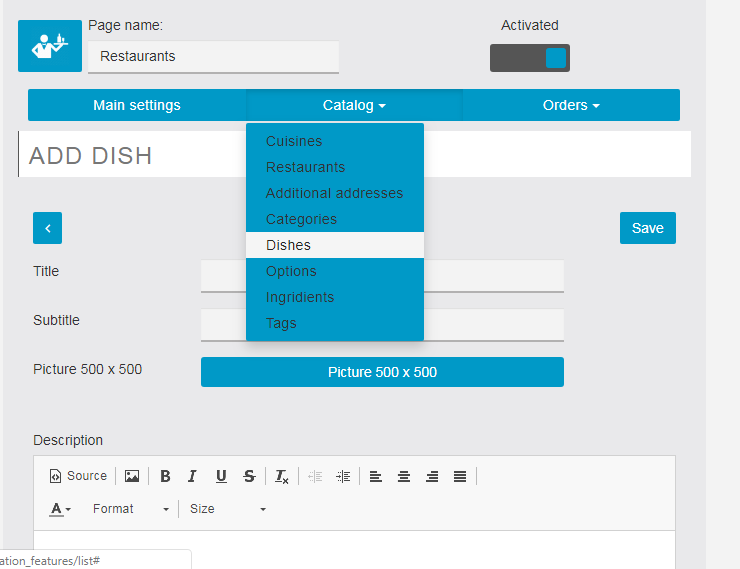
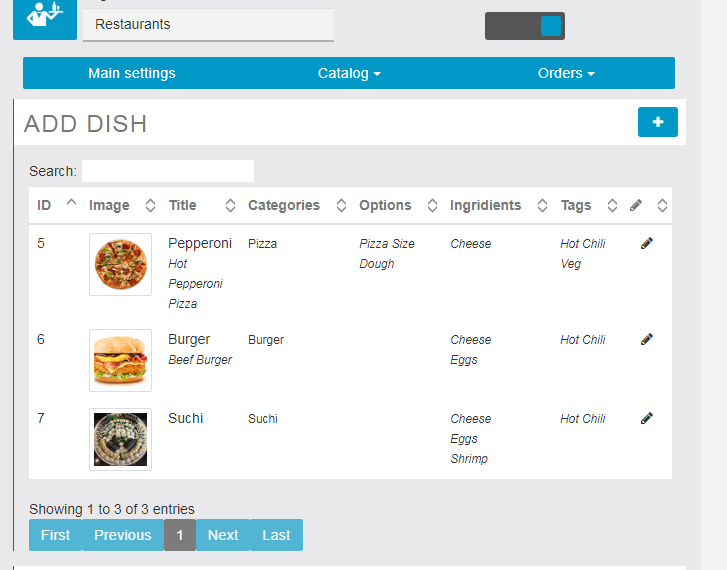
#6 Dishes
The general list of dishes for all restaurants. The choice of specific dishes for a restaurant from this list
and the assignment of prices to it are made through setting up the restaurant. In this section, only the
dish itself is configured – ingredients, tags, category, options, description and picture. We recommend to
fill in the name and subtitle of the dish – they are displayed in the lists and in the card, which positively
affects the appearance of the application and gives more information for the customer to choose.
In the list of dishes we also display its ingredients and tags, options, belonging to categories – this
significantly improves navigation.
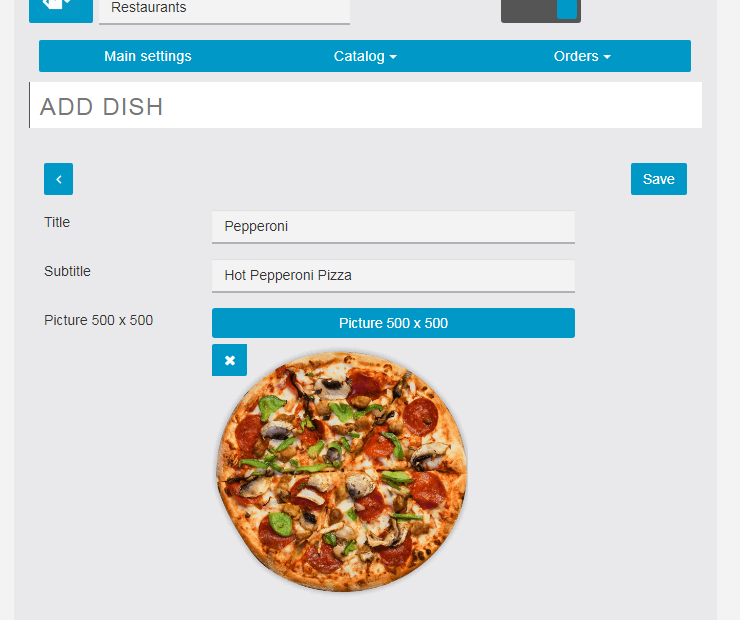
Each dish has required fields:
1. Title – Dish name
2. Subtitle – subtitle, explanation of the dish, displayed in the search and the list of dishes
3.Icon – dish image (recommended minimum is 500 by 500)
4. Description – description, it is shown directly in the dish description
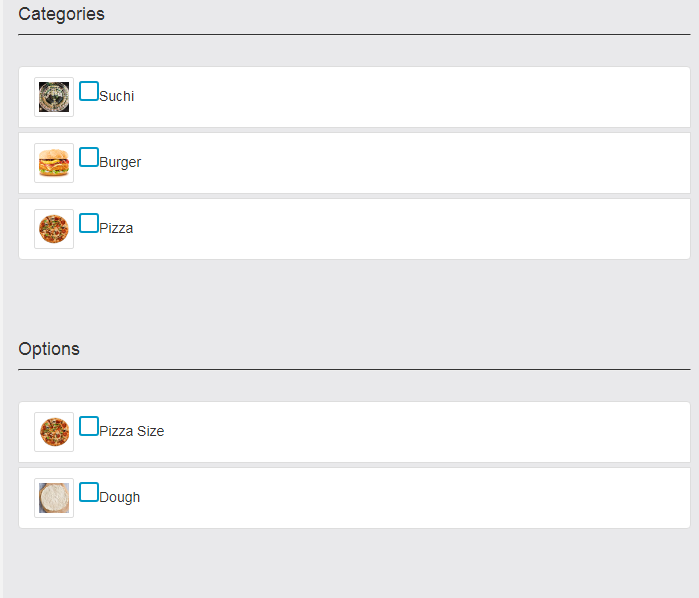
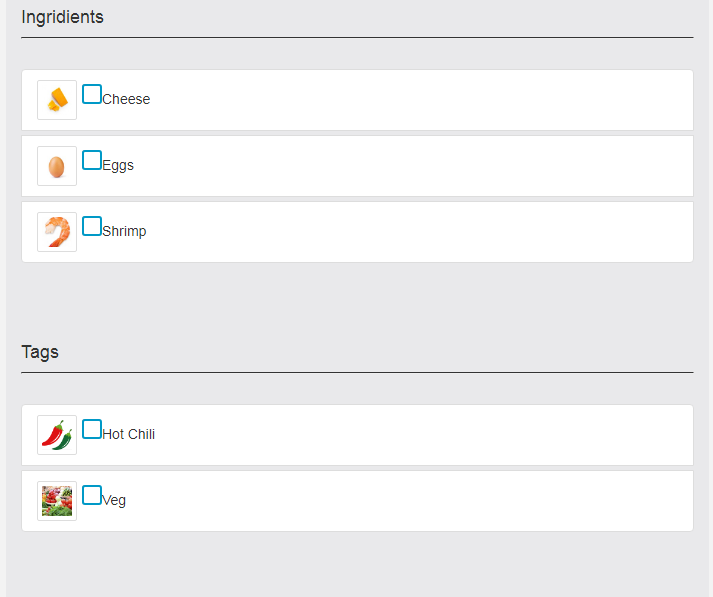
In addition to these settings, it is also necessary to mark the categories to which this dish belongs,
ingredients, tags and options.
#7 Restaurants
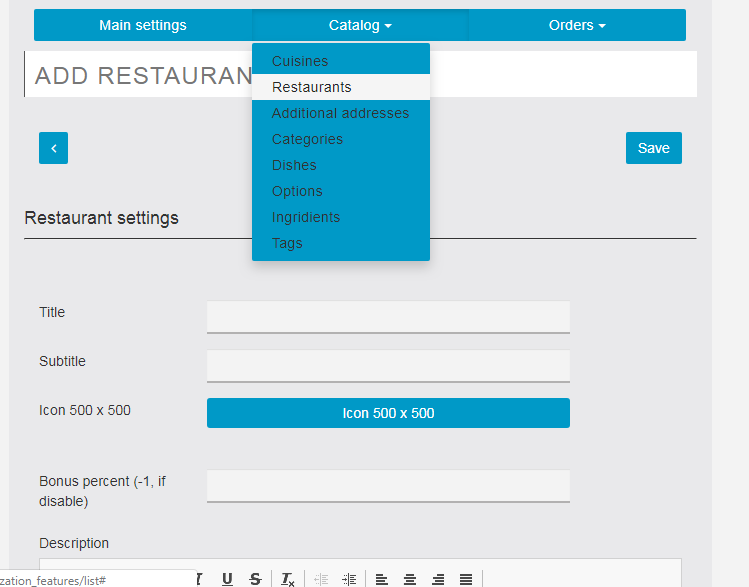
The system must have at least one restaurant. Settings and what they are responsible for:
1. Title – Restaurant name
2. Subtitle – subtitle (shown in the list, we recommend filling it out)
3. Icon 500 x 500 – the main icon of the restaurant, it is also shown on the map
4. Description – a description that is displayed on the restaurant information screen
5. Bonus percent (-1, if disable) – The percentage of the order amount credited to the customer to the bonus account upon purchase.
Each restaurant can arbitrarily charge bonuses to the customer, or not use them at all. If bonuses are not used, then specify -1 in the “Bonus percent (-1, if disable)” field. However, it remains possible to specify the number of bonuses to the client for each dish. The work of the bonus system will be described below.
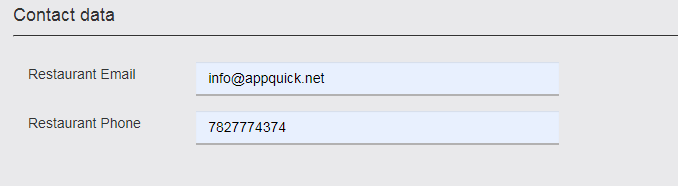
Contact data:
- Restaurant Email – Email address to which you will receive notification of an order or
reservation at this restaurant. This address is also displayed in the restaurant information. - Restaurant Phone – restaurant phone, displayed in the information about the restaurant.
Address data is shown in the restaurant information, as well as in the lists. In addition, according to the
specified data, the application tries to calculate the longitude and width, according to which the
restaurant marker will be located on the maps. Automatic detection of longitude and width is possible
only when the Google API Key is installed, but you can always specify them manually.
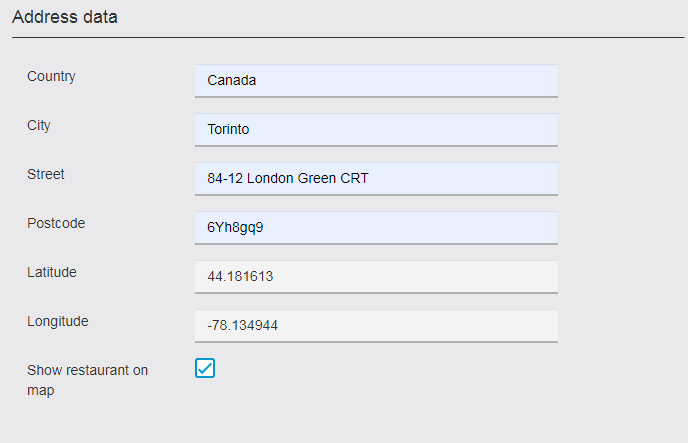
If you don’t need to show the restaurant on the map, turn off the Show restaurant on map option, in
this case the restaurant will not be shown on the map.
Each restaurant has 3 service options:
1. Pickup – in this case, the customer must pick up his order
2. Delivery – the order is delivered to the customer.
3. Booking – booking a table for a specific date and time
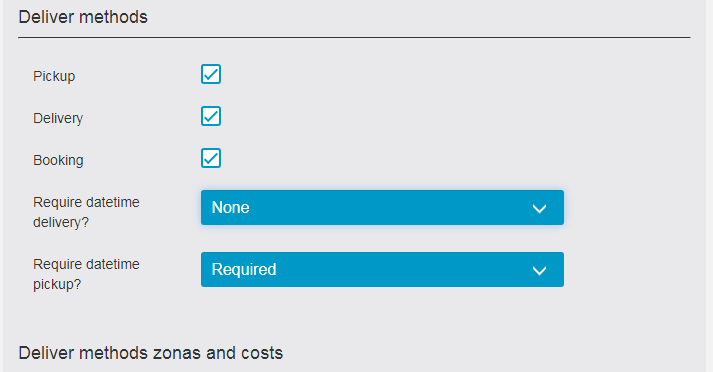
The booking function becomes available if the restaurant has this option enabled.
In addition, if the restaurant service in the checkout can ask the user to fill in the date and time of
delivery (or self), set the required parameter in Require datetime delivery and Require datetime pickup.
Each restaurant can have 5 delivery zones. Each zone should have its own name and its value.
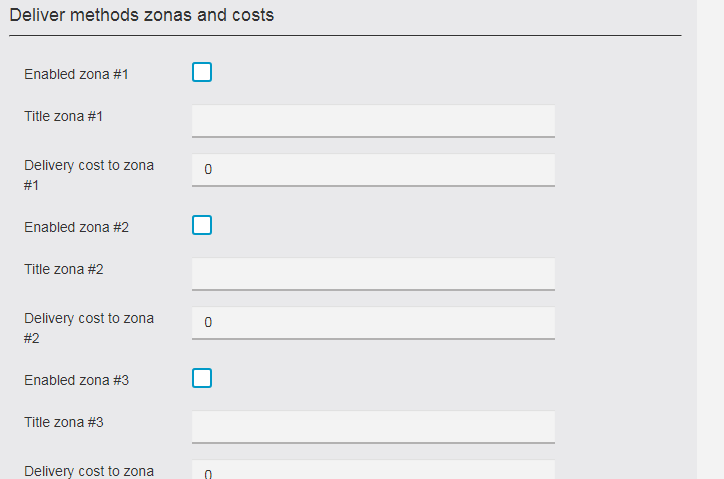
These zones are selected by the client as delivery methods, and shipping costs are added to the order. In
ordering, the “Pickup” method will also be added to the delivery list, if this restaurant has such a service.
For each restaurant there are 3 different payment methods that are displayed to the buyer when
placing an order.
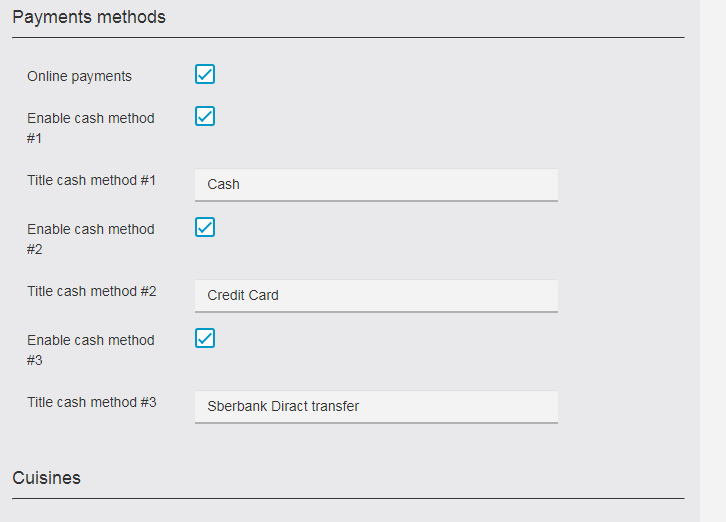
These methods are needed to offer the buyer payment options, such as cash, credit card through a
portable terminal, direct bank transfer or the like.
For the restaurant, it is also necessary to indicate the type of cuisine. Type of kitchen must be at least
one (for example, “all kitchens”).

If kitchen types are not used and not displayed, then the accessory must still be specified.
The restaurant has its own schedule. After hours the restaurant is not shown in the lists. At the same
time, if goods from such a restaurant were put off in the basket, you can still place an order.
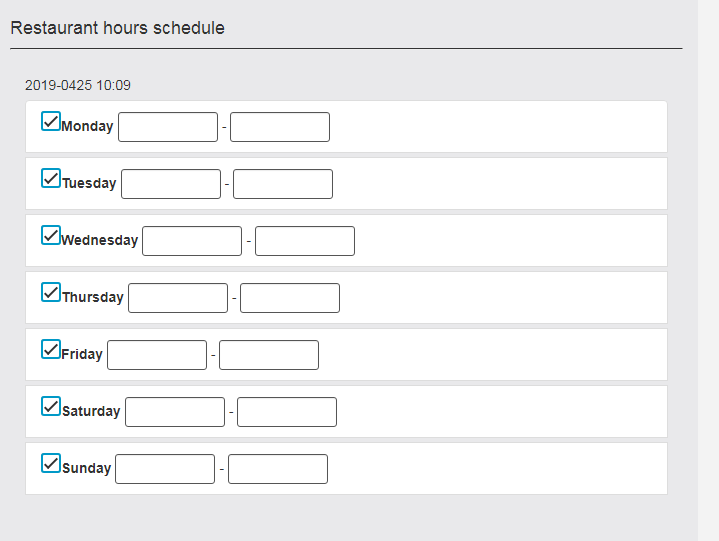
Tick marks work days. If time is not indicated, it is considered that the restaurant is open 24 hours. If
the restaurant has a work schedule, indicate the start of work in the form of XX: XX and the end of work in
the format of XX: XX.
The list of dishes displays all the dishes in their entirety, in a list. It should be noted dishes that are
prepared in the current restaurant.
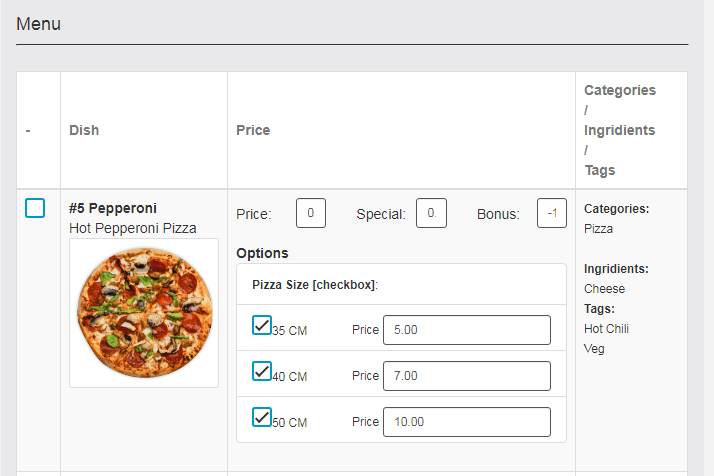
The right column displays the data of the current dish – categories, tags and ingredients.
Used fields:
1. Price – basic price of the dish, basic, without taking into account the cost of options
2. Special – promotional basic price of the dish (if it is more than zero, then the dish goes on the
action)
3. Bonus – How many bonuses will be credited to the bonus account after making the order. If you
specify -1 in this field, the bonuses will be calculated according to the percentage scheme for
the entire restaurant (this is written at the very beginning of the section)
Each dish has its own options, if they were listed earlier. Each restaurant itself determines which options
it uses and what price to add to the cost of the dish for a particular option. If the option has zero cost,
then nothing is added to the cost of the dish. When using the option with the quantity, the cost of the
option will be added to the base price of the dish, multiplied by the amount indicated by the customer
in this option.
#7 Additional restaurant addresses
Each restaurant can have several addresses (in different parts of the city for example). For this,
additional addresses are used. The number of additional addresses is not limited. Additional addresses
are shown in the app in the restaurant information.
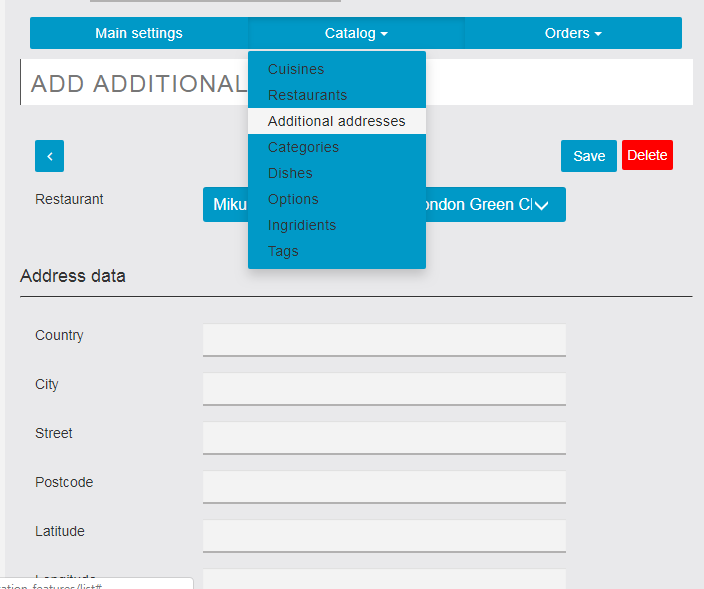
According to the specified data, the application tries to calculate the longitude and width, according to
which the marker of the additional address of the restaurant on the maps will be located. Automatic
detection of longitude and width is possible only when the Google API Key is installed.
When creating an additional address, select the main restaurant from the drop-down list.
Booking
If the restaurant has a reservation service enabled, the customer can use the application to reserve a
table for a specific date and time. The order also indicates the number of persons and a comment, if
necessary.