TaxiRide
With this feature, you will be able to launch an “Uber-like service” with your app.
To use this feature, you have to create a Google Maps JavaScript API key.
1. First, click on ![]() in the “Add pages” part. This will appear:
in the “Add pages” part. This will appear:
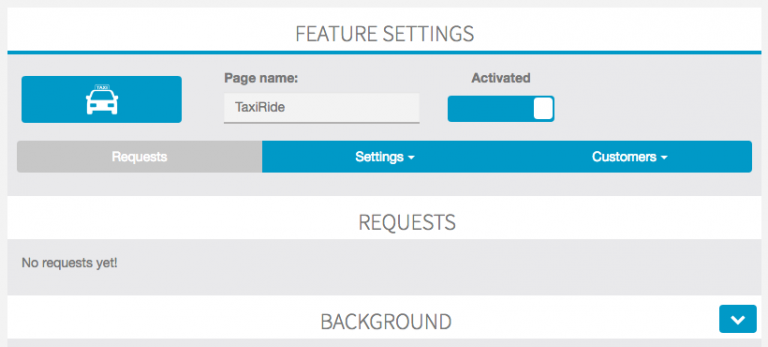
For now, there is no request yet. But let’s have a look at what the “Requests” tab looks like when a ride has been requested:
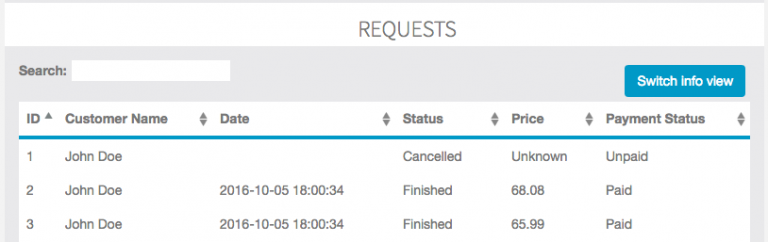
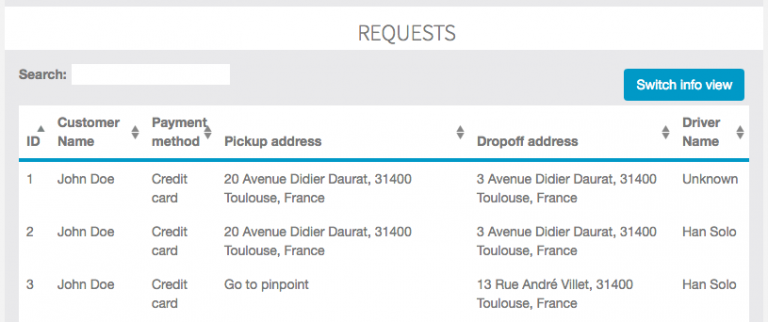
As you can see, you can “Switch info view”. Let’s switch and see what it looks like:
2. The “Settings” tab is divided into two parts. The first one is for the “General Settings”, and it looks like this:
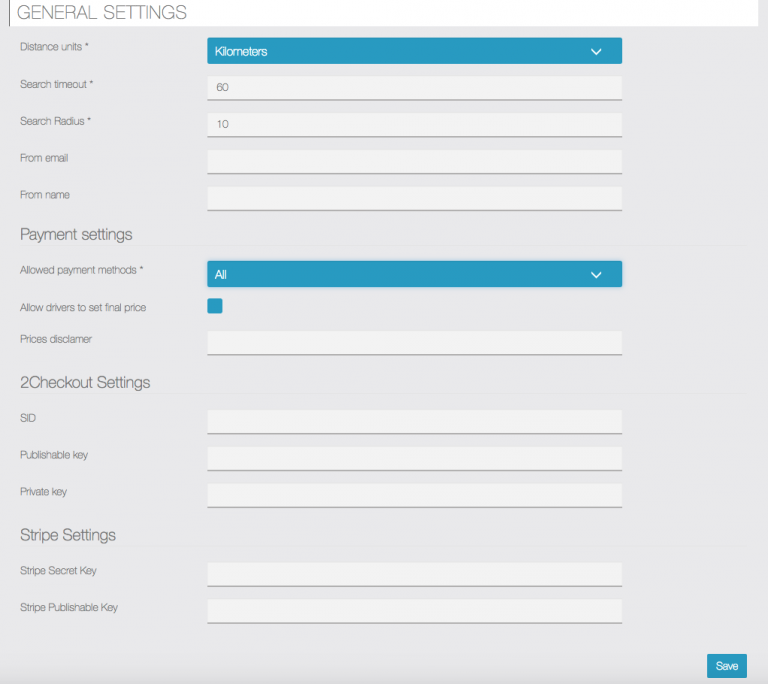
In this tab you can choose:
- the distance unit between kilometers and miles.
- the search timeout
- the search radius: when a passenger searches for a taxi, you can set a maximum radius around him
- the email address and name with which the messages will be sent to the passager/driver
- the Payment method: Credit card, cash, or both.
- to allow drivers to set the final price of a ride
- the prices disclaimer
- 2Checkout settings
- Stripe settings
Don’t forget to save when you have set up your settings.
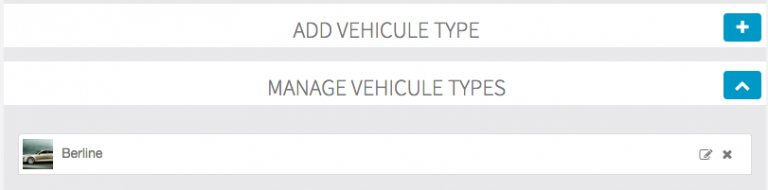
The second part of the “Settings” tab is for the vehicle type:
Let’s add a vehicle type by clicking on ![]() . This appears:
. This appears:
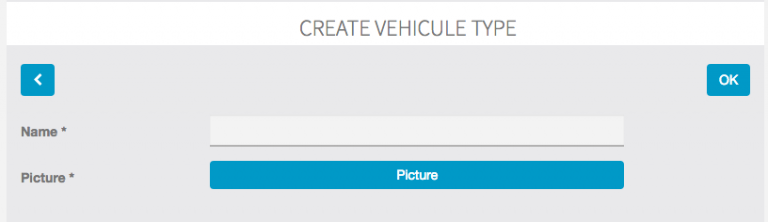
Let’s create a “Berline” type and add a picture. Now that we have created a vehicle type, we can delete it or edit it from the menu that just appeared:
3. The last tab is for “Customers”. It will include the information for the “Drivers” and the “Customers” that created an account in the app. It includes the following information:
For the Drivers:
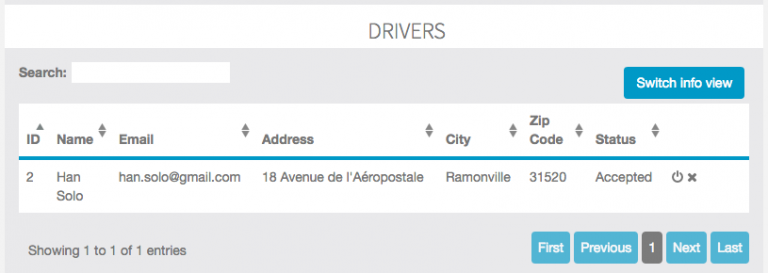
- Name
- Address / City / Zip Code
- Status: you have to validate the status for the driver before he is allowed to take requests
You can also switch info view to see the following information:
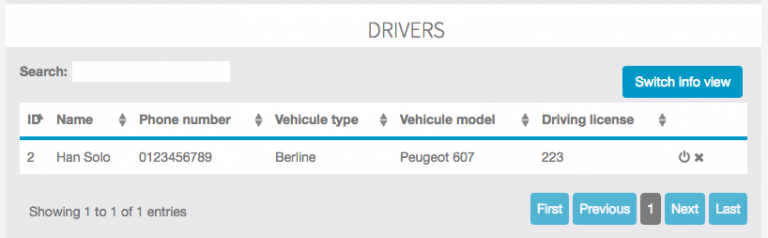
For the Passengers:
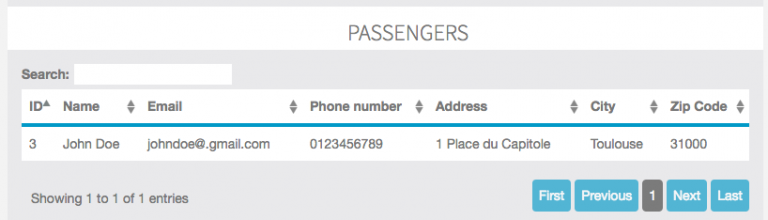
- Name
- Phone number
- Address / City / Zip Code
How Does It Work In The Application?
First, you have to create an account, whether you are a passenger or a driver. When you create the account, you have to choose between Passenger and Driver. Be careful, once you have created this account, you can not change your status. Passengers are automatically validated, whereas Drivers have to be validated by the admin in the Editor.
Passenger Side
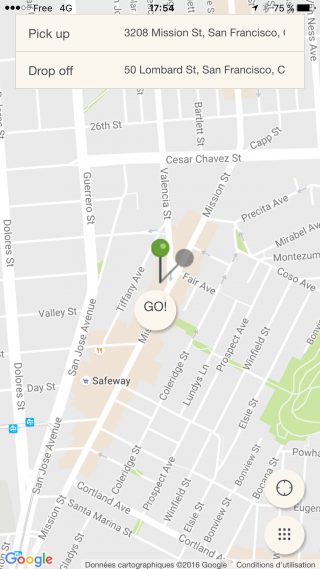
First, enter your pick up the address and your drop off the address. A “Go!” button appears.
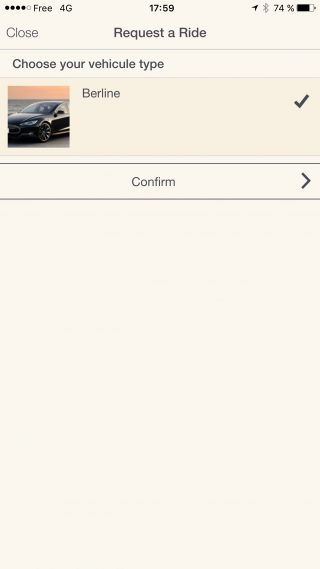
Click “Go!” to start the search process. First, you will have to choose the type of vehicle you want. In this example, there is only one type of vehicle, but you can create as many types as you want.
Then choose the payment method (here, only the payment by card is available). Select the payment method and click on “Let’s go”.
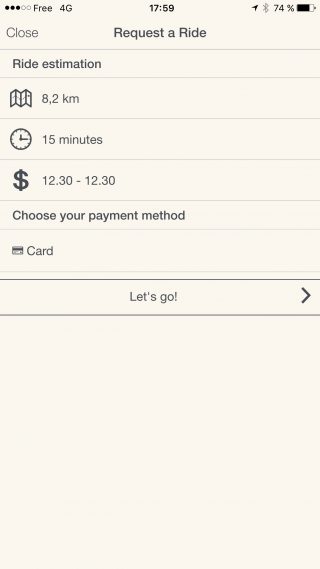
Then the app will start searching for drivers around you.
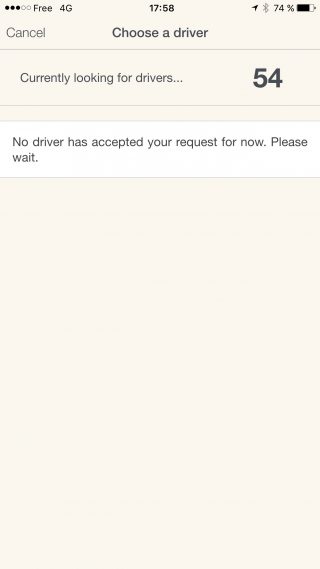
Once a (or several) drivers has accepted your request, he will be displayed and you will be able to select him.

Choose your driver and he will come to pick you up. Once you’re the car, you will be able to see the map and the live journey.

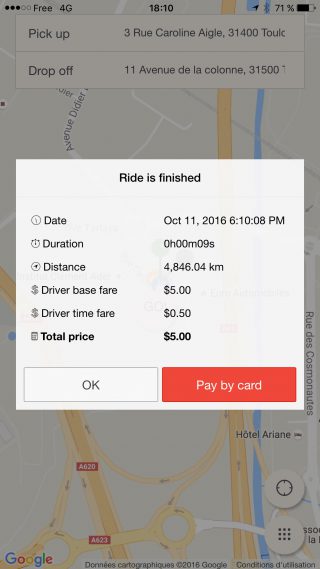
Once you have arrived at your destination. The following message will appear. You can pay directly by card through the app.
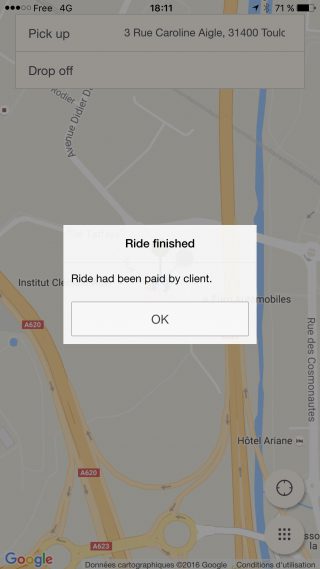
Then you will see a confirmation message:
Driver Side
The driver can set the price for each kilometer/mile when he creates his driver account in the application.
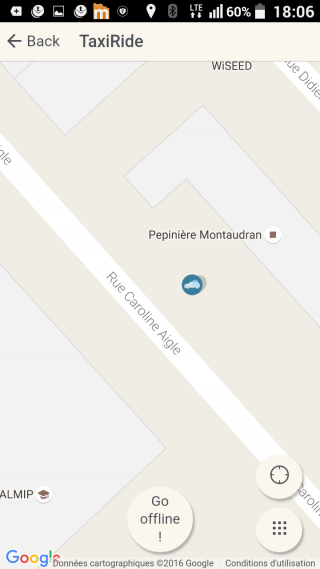
This is the screen of the driver when he has no ongoing ride.
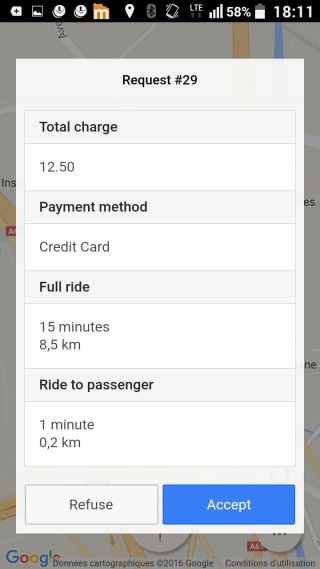
When a passenger around him requests a ride, this will appear:
When he accepts the request, he has to wait for the client to choose him (or not!):

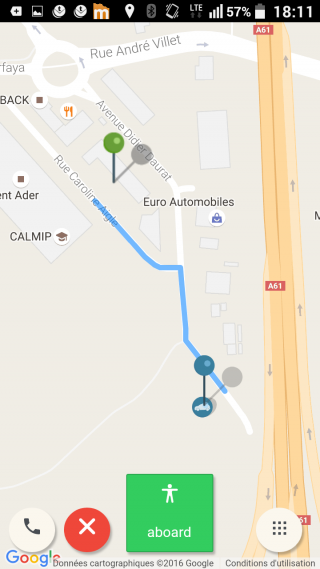
When the passenger chooses him, the driver goes to pick him up. Once the passenger is in the car, the driver has to click on “Aboard” to start the ride.
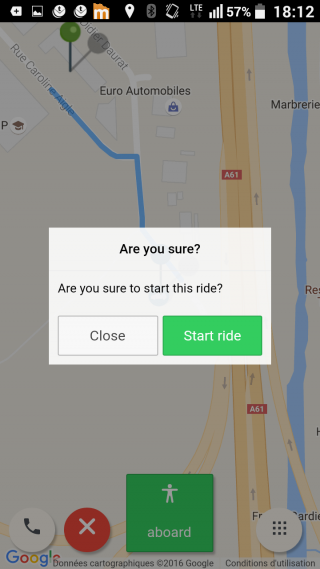
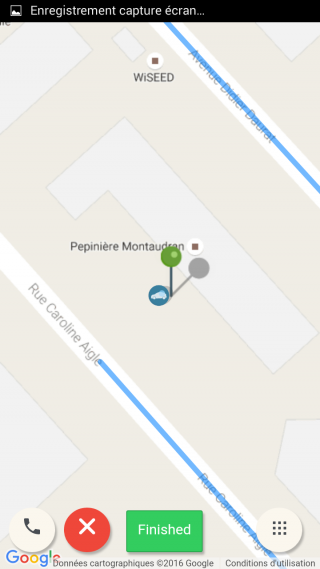
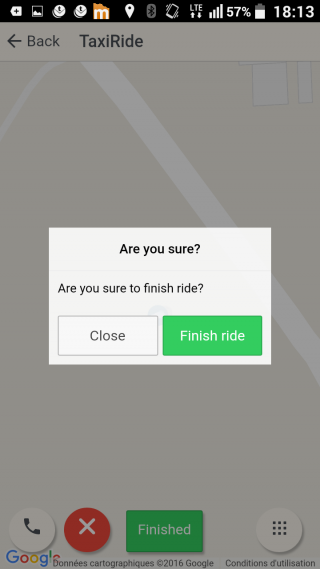
Then the driver begins the journey, and when he has arrived at the destination, he has to click on “Finished”:
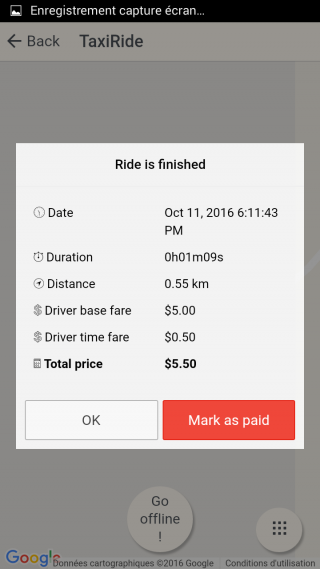
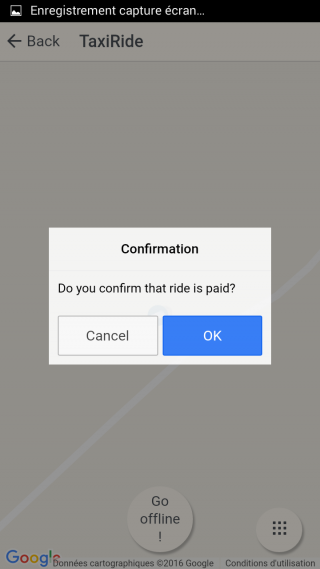
Then the passenger pays and the driver has to validate:
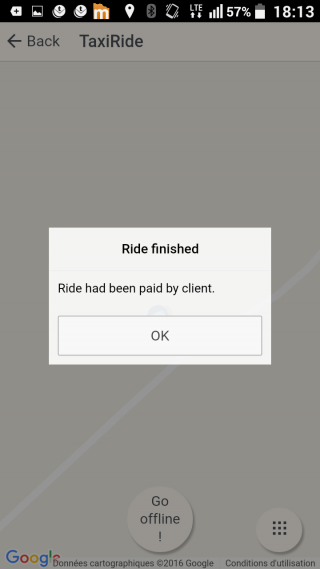
The passenger will also receive an email with all payment details at the end of the journey.
Et voilà!
FAQ: